Gareth's Robinhood 2B Site
MENU
The Donor
Stripping Donor
The Collection
The Build Diary
Links
Modifications
Hoodies
Home
ADVERTS
| June |
July |
August |
September |
October |
|
2nd December
I haven't really been able to do much since the start of November - I had a small operation which stopped me from lifting.
So I spent most of my time planning the order in which I would do things:
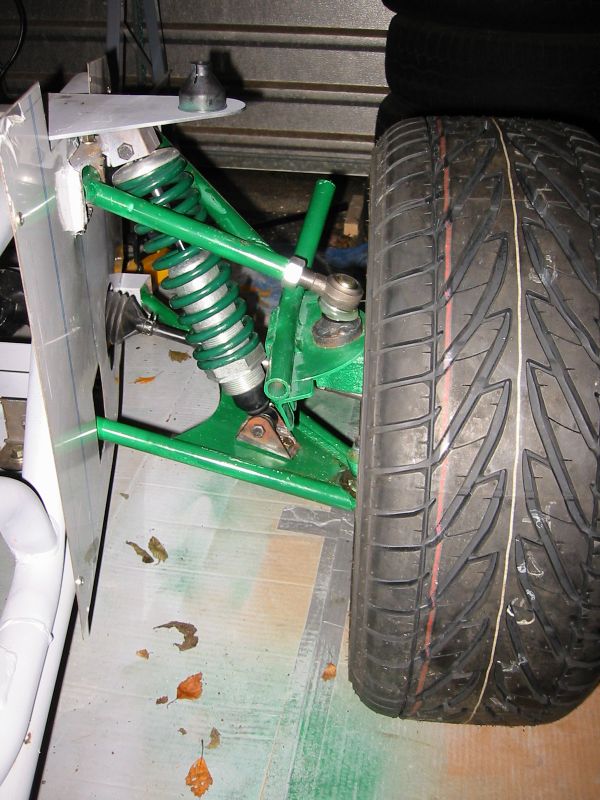
1. Wishbone suspension
2. Trial fit seats and floor strengtheners (then remove seats)
3. Fit Engine
4. Fit Tunnel/Handbrake/Pedals/Steering wheel
The rest will be planned once these sections have been completed.
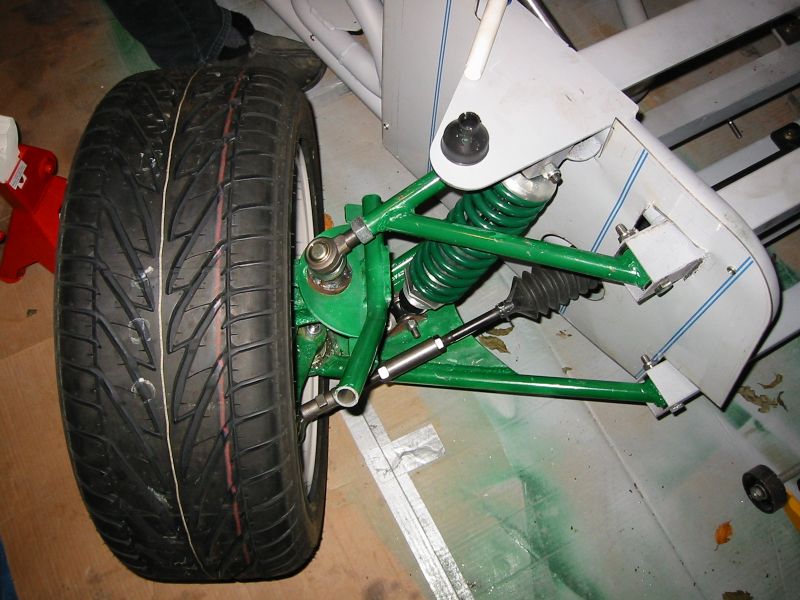
I'm sure anyone who had bought the sliding pillar front suspension starts putting it together and thinks 'The wishbone looks a lot simpler' - and all those with the wishbone wish they had chosen the sliding pillar.
I know this has been said many times about the RH2B but;
IT DOESN'T FIT!
I realise that comment isn't helpful - but I feel better ;-)
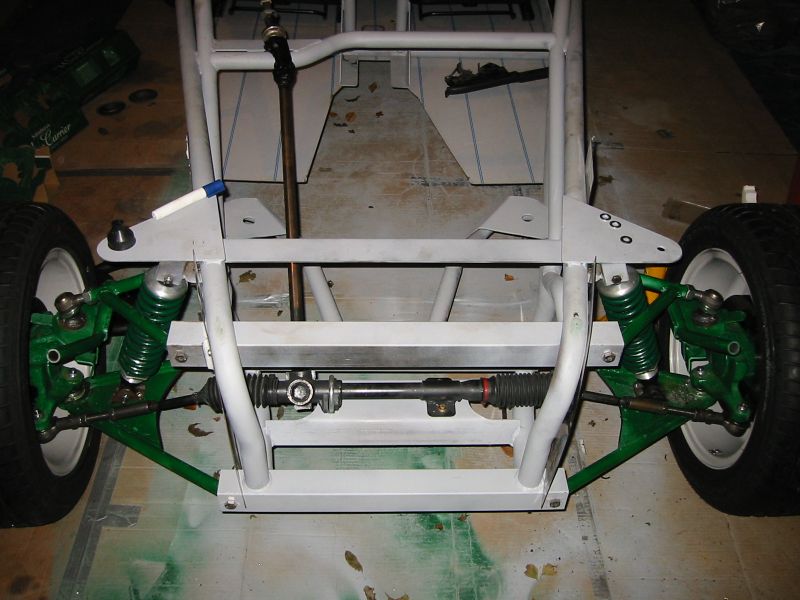
The instructions are quite simple and logical, except for the section about why washers are needed. The Video explains that the second fixing for both the upper and lower arms are designed so an angle must be added later so you can change the camber, and will be explained later. Firstly they never explain how, and secondly the arms are fixed within a box section on the leading edge so there is no way the arm's position can be changed afterwards.
In my case (and I'm sure it is different for everyone) the wishbone arms didn't fit properly even before I started drilling - where the video said it would be a tight fit it was loose and where the fit should be loose it was tight.
I took some time away from the actual fitting of the wishbone to work out the mechanics of the suspension. I decided that the fit would be acceptable for the moment and if necessary I could re-engineer the fittings at a later stage. I continued with the actual fitting, and will worry about tracking and suspension fitting once the majority of the build has been done.
15th December
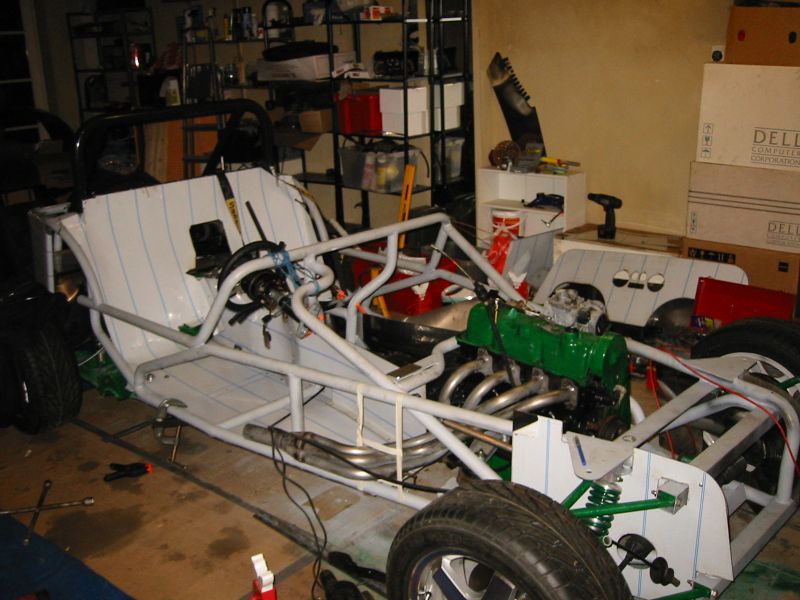
This entry will cover the last two weekends, in which I fitted the handbrake to the tunnel top, fitted the engine and gearbox and finally the rear panel.
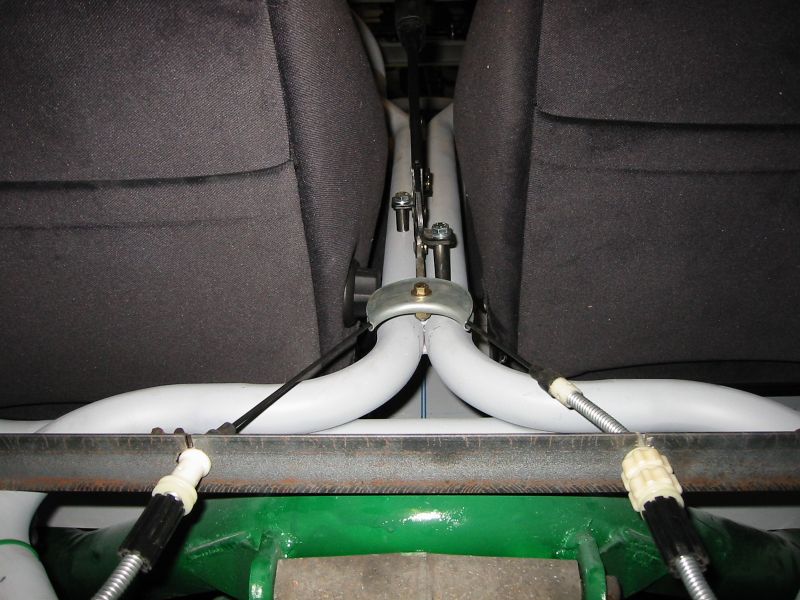
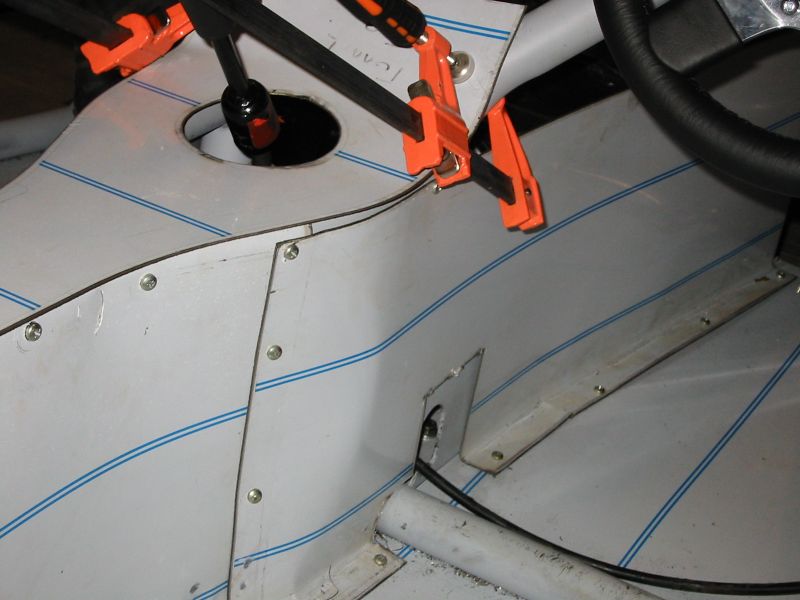
The handbrake should be fitted to the floor on the passenger side, however a few of the builders have taken advantage of using a different fuel tank allowing the handbrake to be fitted on the tunnel top. Have a look at Steve Loat's and Daz's builds to see where I 'borrowed' the idea;-)
I fitted the handbrake using two spacers created from an 8mm tube, and longer bolts - the tubes used were of different lengths to allow the handbrake to sit horizontally on the tunnel top.
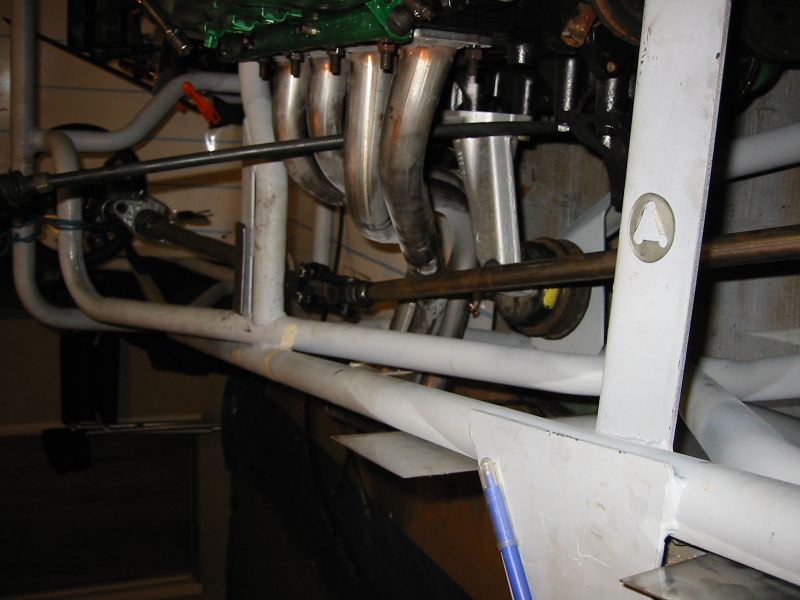
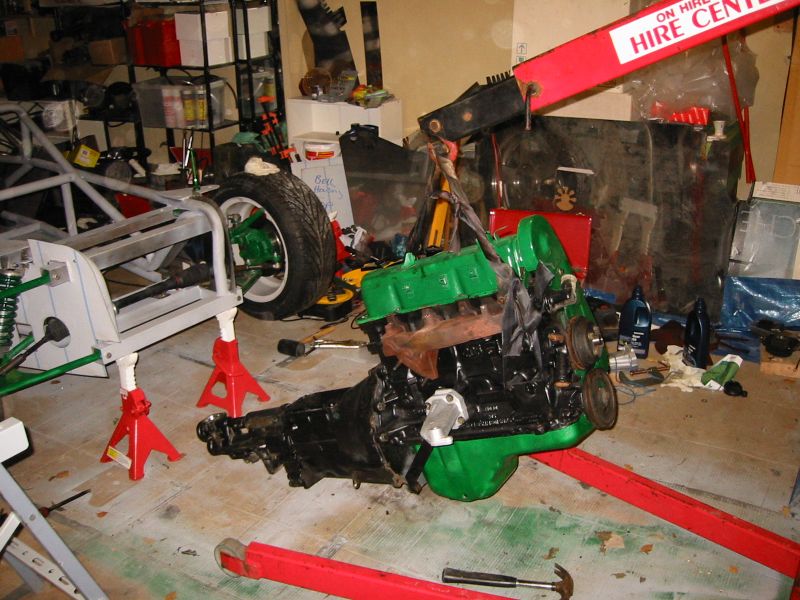
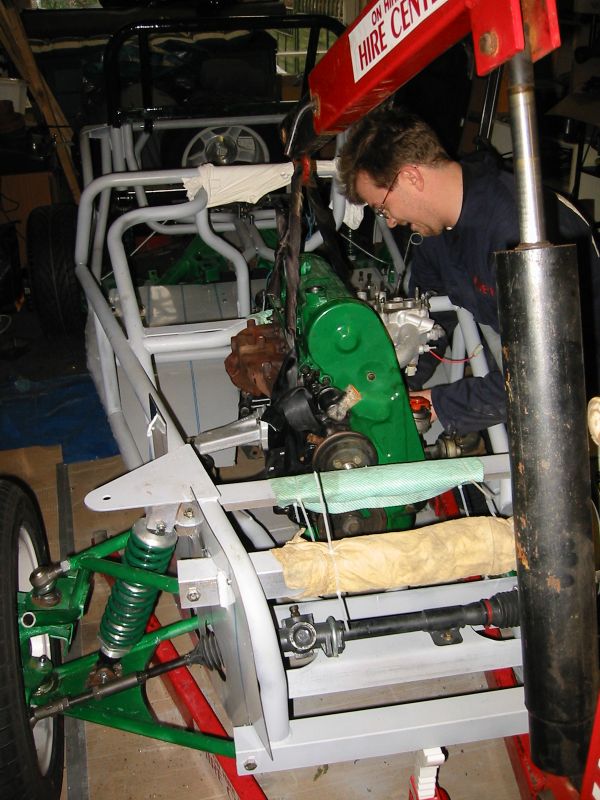
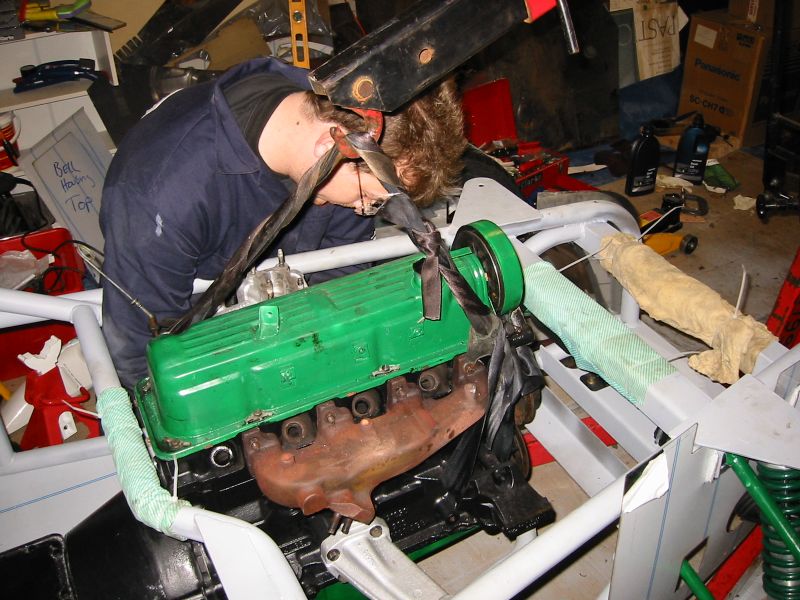
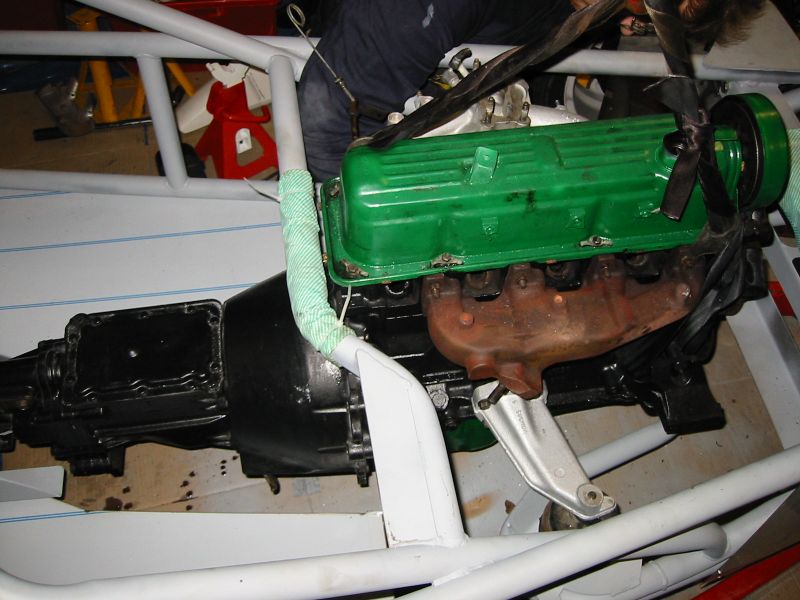
The engine and gearbox installation was easier than I expected. Jon came over to help and we hired an engine crane from the Hire Center. The instructions given on the video are very comprehensive and the whole process took only about 90 minutes.


27th December
Once the engine had been fitted the rest of the build started to fall into place. I decided to complete the internal panels using self-tapping screws; once the car is almost completed I will then change them for rivets or a more removable fixing (depends if I will need to remove them again).
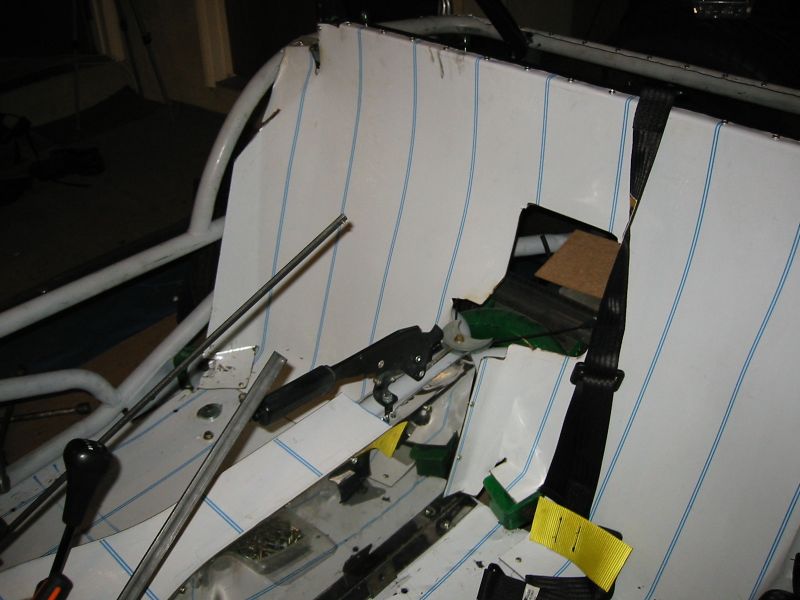
I started with the seat back panel. Following the instructions, the process was quite simple - the video instructions were ok to a point - it advises you to line up the top edge and fix it before moving on to the rest of the panel. This would be ok if the top edge was the correct dimension! The section of the top edge which folds over the central bar wasn't long enough (and offset) on my panel and so when I had bent it and screwed it into place, the side sections which are bent over didn't fit neatly and the pre-cut holes at the base needed resizing. I decided to leave it where it was and recut/bend the panel into the new required shape.
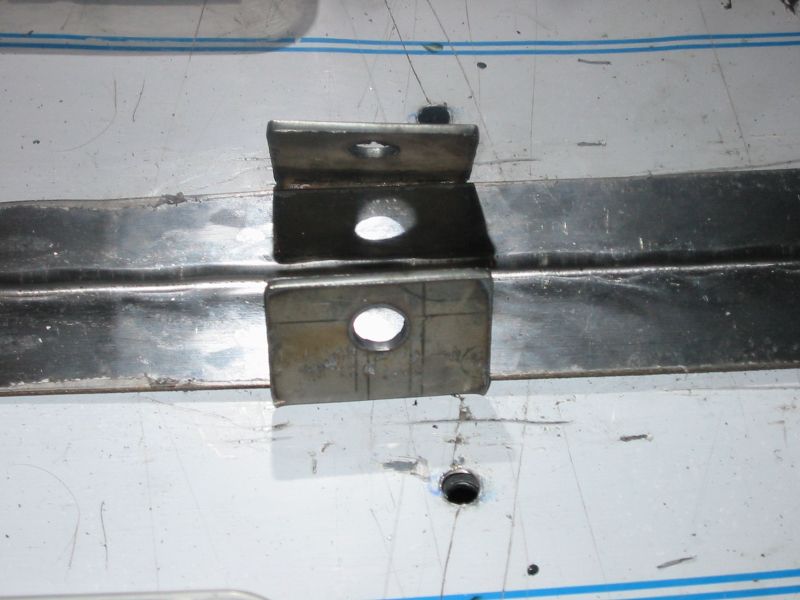
The tunnel sides were no problem at all - although watching Trickie bend mild steel in the summer is a whole lot different to bending stainless steel in the winter! The new panels are all pre-cut and simple to fit. I had orginally thought I would run an angled bar between the front and rear seat support bars, but once I had looked at the seat position after the tunnel sides were fitted I could see that would be quite difficult to do - instead I have decided to fit two pieces of angled bracket to the rear seat bar only - in fact the angled bar is part of the rear damper bracket supplied in my kit but not used with the rear coil overs.
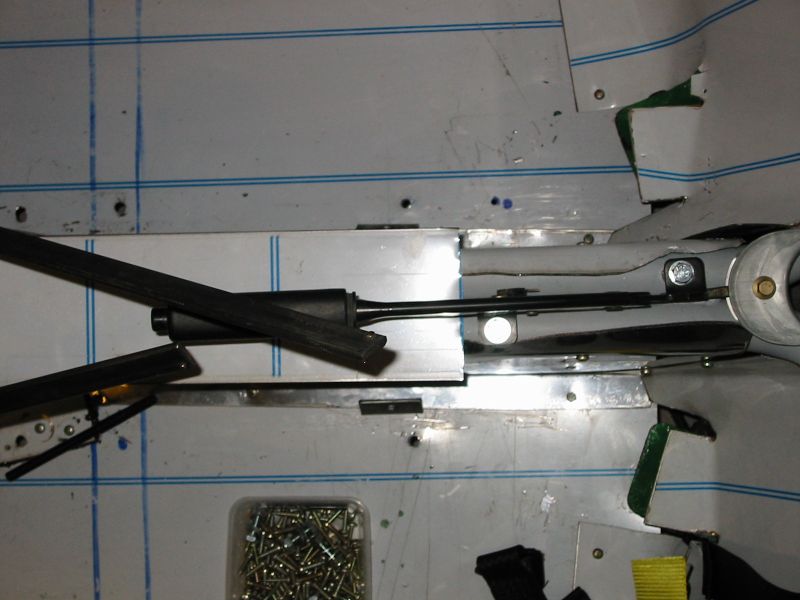
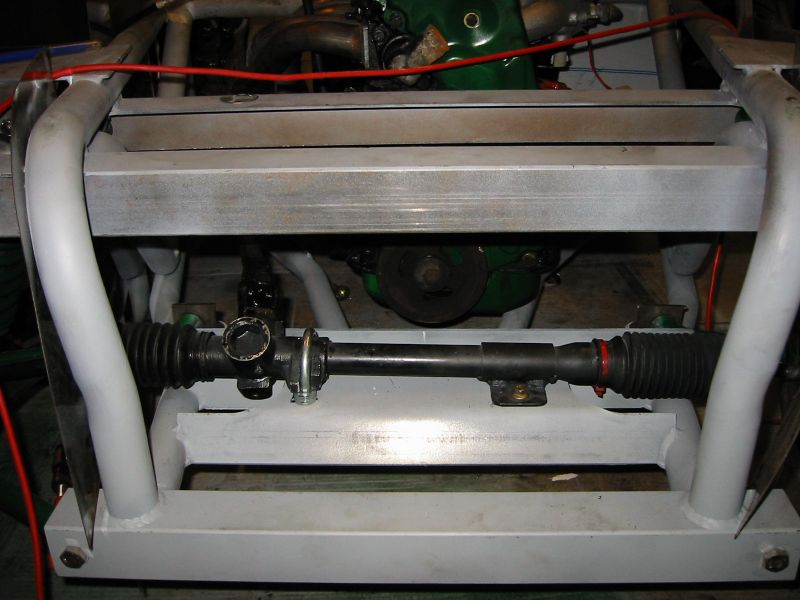
One this had been done the next stage was to look at how the steering column and pedal would fit. I wanted to check this before fitting the driver's foot panel to make sure I had enough space for the pedals. The first issue I had was that the steering rack (when fitted flush to the chassis) didn't allow the steering column to sit low enough in the car. When the column was in place the universal joint at the rack end jammed. I decided to fit the rack at an angle - I'm not sure if I am happy with using washer spacers - maybe this is a time to call the telephone help line ;-) Anyway with the steering wheel where I wanted it and the pedals roughly in the right place, I found that the supplied upper steering column bracket is far too long. Once New Year is out of the way, I'll fabricate a new bracket and fit the steering column in place.