Gareth's Robinhood 2B Site
MENU
The Donor
Stripping Donor
The Collection
The Build Diary
Links
Modifications
Hoodies
Home
ADVERTS
| June |
July |
August |
September |
October |
|
27th March
I know I have been bad at updating the website, but it seemed everytime I went to do it there never seemed to be a decent amount of completed jobs worth talking about, It seems that when you get to the last few jobs its a matter of trying to get them all to fit together - which means alot of head scratching and refitting.
Anyway, I have a few things I can talk about, and if I get my skates on this weekend coming - I might have a complete body on my car!
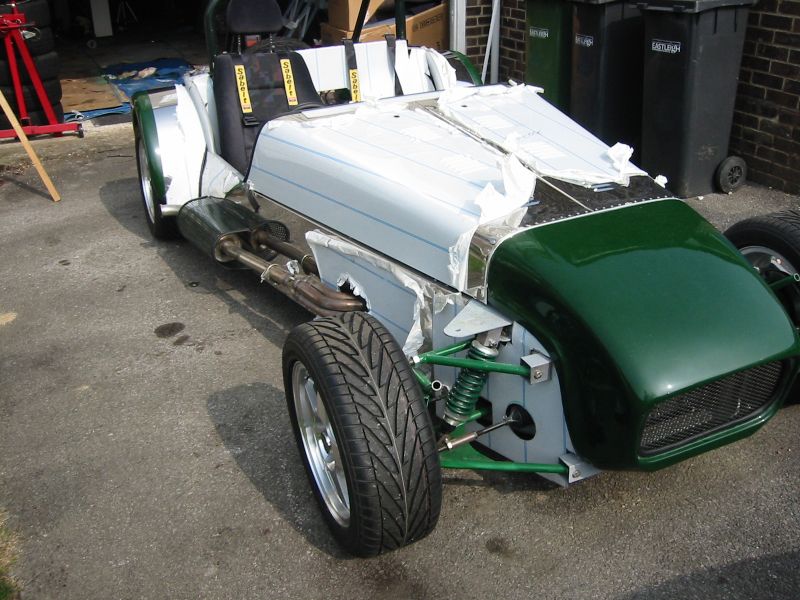
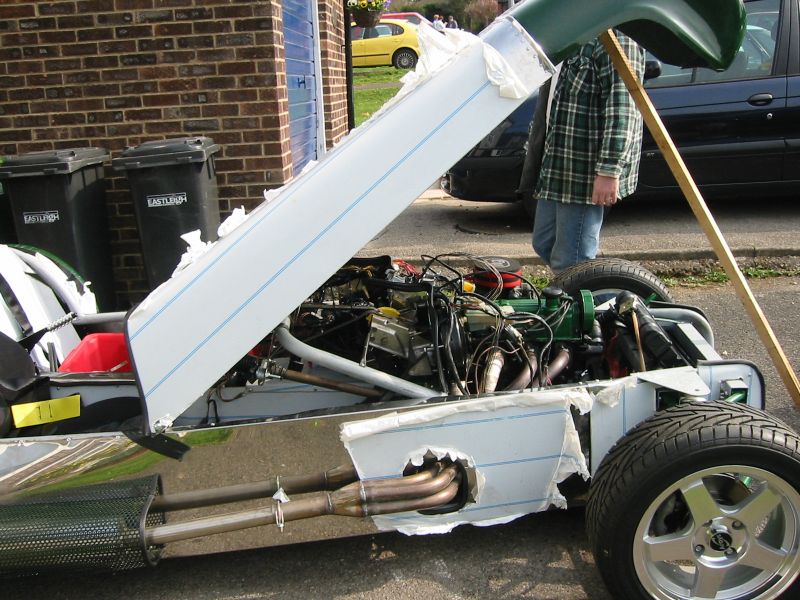
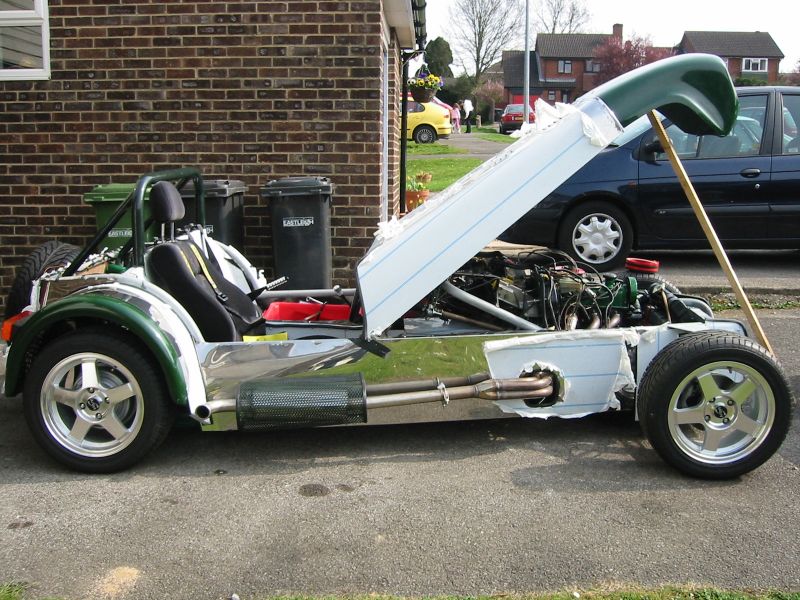
HEAT PROTECTOR:
The heat protector supplied seemed not to accomplish all things it should, firstly it didn't cover the mounting bracket (and so you would have to cover it for the SVA in some way), secondly it didn't seeme to give alot of protection from the exhaust. I decided to use that piece of stainless steel for something else and instead buy some fancy sheet steel to make my own. The process was quite simple - folded the ends to a right angle and then bent the protector around the silencer to create the required curve. I then sparayed it with dark green paint and bolted it onto the side panel.
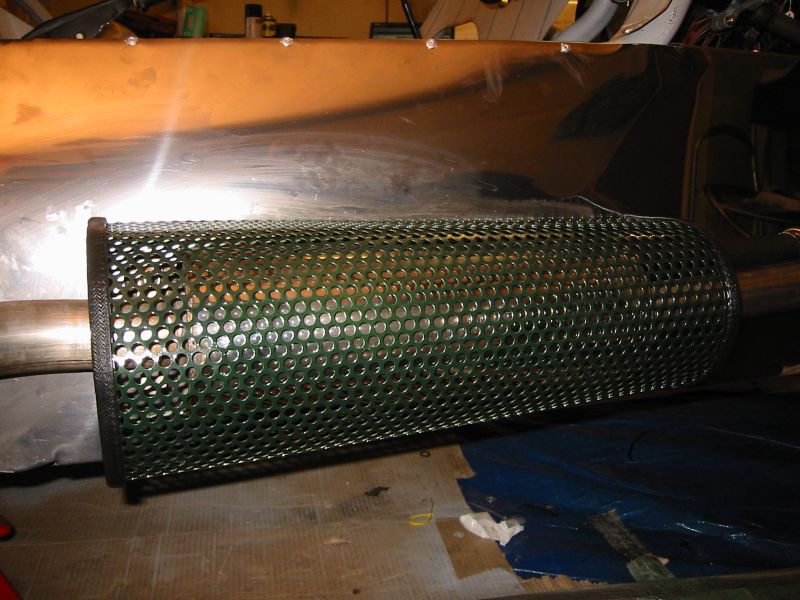
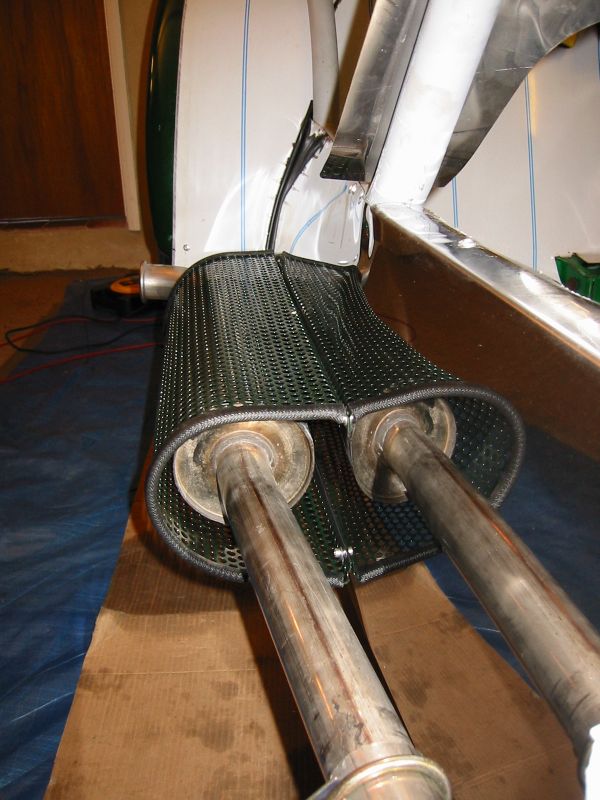
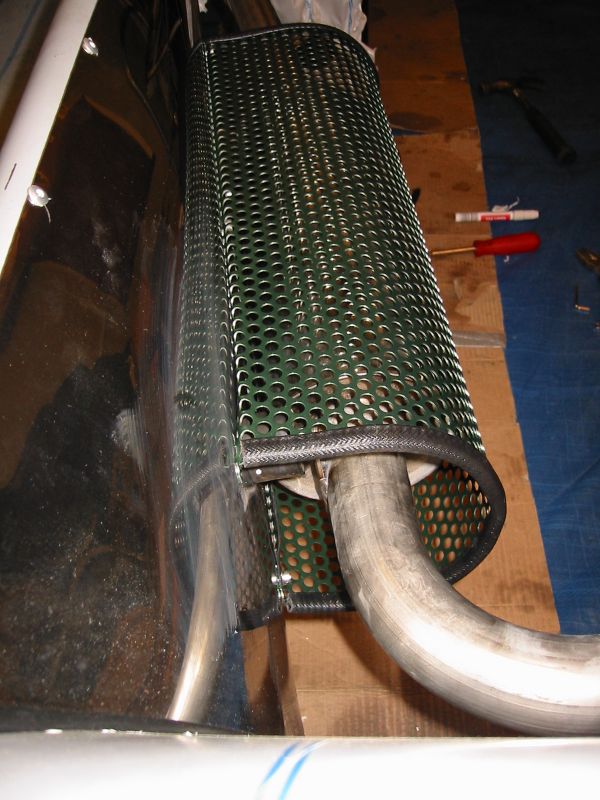
Just need to silcone seal the edges during my SVA preperation.
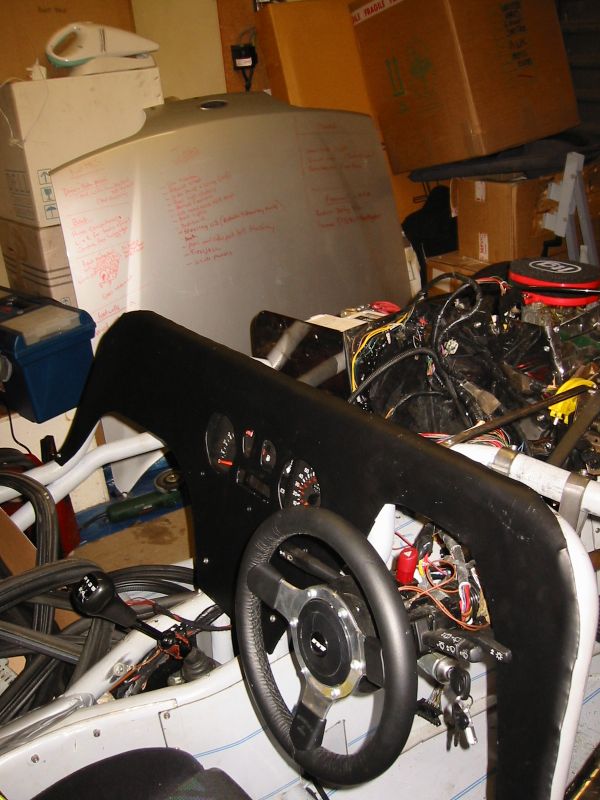
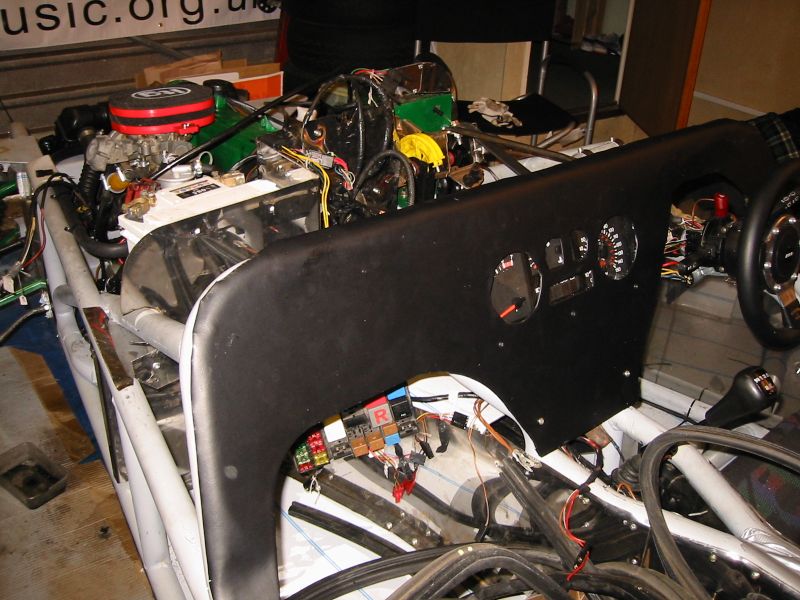
DASHBOARD:
Cut and fitted the dashboard as instructions - including the dials (will be changed post - SVA), nothing really to say apart from take your time and make sure you try the bonnet before cutting too much off the dashboard - othewise you can get some unsightly gaps.
STEERING SHAFT MOUNT Mark 2:
Ian Milne came over last week and commented on the steering shaft mount, i never liked it myself either, but he said he doubted it would pass so I have re-engineered it adding more braces to the pedal assembly. I will be adding more braces to it during the next few days.

31st March
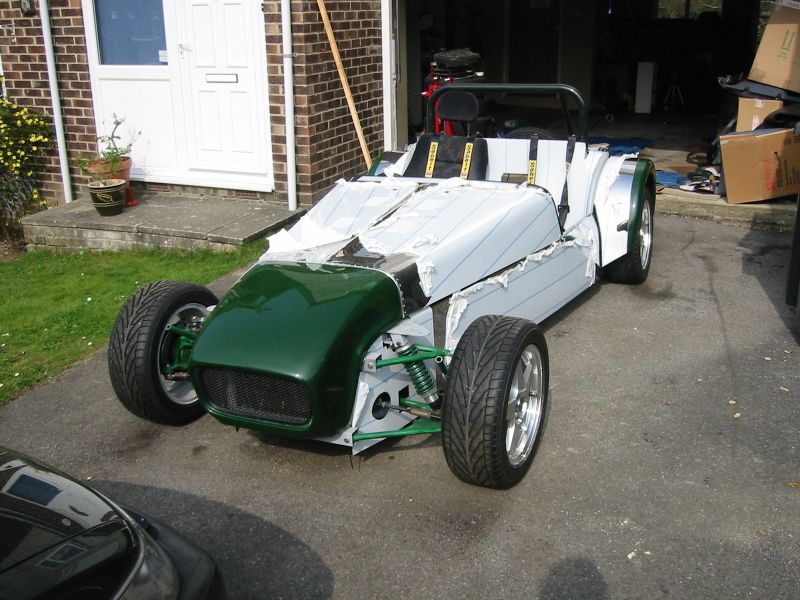
Had a productive weekend this weekend, On Saturday I fitted the rear light clusters and the bonnet and nosecone.
I have fitted the lights quite high up on the rear arch this was a simple process with an added benifit that the clusters make the fibreglass arch much more rigid - but i had a problem the hazards worked fine when the ignition was off but when on all the rear lights failed to work! I sat and looked at the wiring diagram and found that I had a floating earth - which when the ignition was switched on ramped to 12v causing there to be no potential drop across the bulbs. so found the offending earth (continuity testing until Ifound the it) and refitted it to the chassis, and all the bulbs lit as expected!
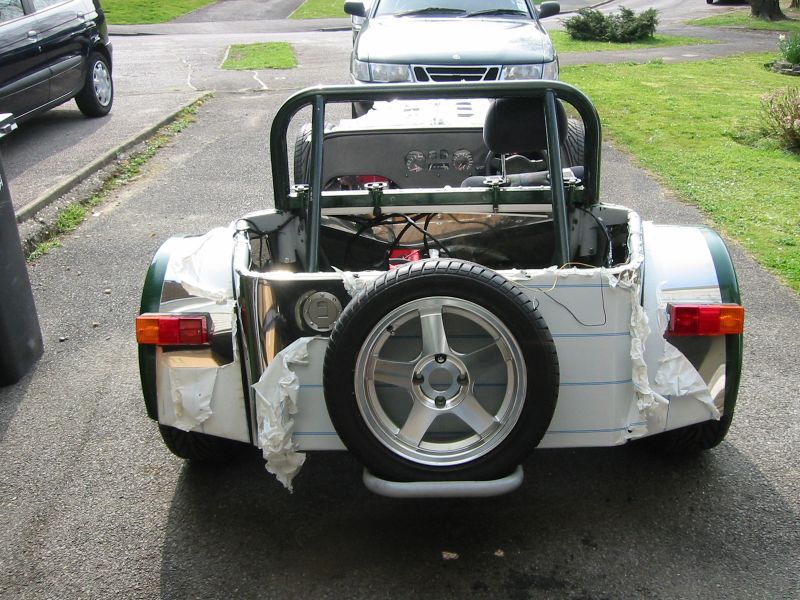

One thing I did notice is the drivers side light cluster seems to be a bit pi$$ed, I have checked the level to the car and the ground and it looks like i made a mistake - during the snagging stage I'll refit this to be level.
Now onto one of my nightmares - the nosecone..
I have read about so many nightmare attempts at this process I really didn't want to do it - however, once i had viewed the video a few times I followed the instructions and it really easily - the only change to the normal install was I fitted edging onto front grill and put some of my fancy sheet metal painted silver. My only advice is it's alot easier to do with a second set of hands to hold the metal sheet for the corners whilst drilling.